I have some tips for you if you decide to give it a go. First, watch the video, it helps to find out how the pieces go together they are printed on multiple pages and you have to tape the little bits together, you can make a full hat with two fat quarters or half a yard (per video). I used the fat quarters because I had it on hand and wanted to use up my marinating stash! By the way, I used 1/4 inch seam, except for the narrow hem described below. I enjoyed making the two caps because it went together quickly and gave a really nice result. Plus, Rob Appell is a hoot and has a great personality. He has lots of other videos- check him out!
See if you can follow along with my pictures. Good luck!!
Arranging your pieces like this will give you a different center piece but the sides and band will be the same. This picture with the Side piece has the fabric folded in half, if your pieces don't fit, fold your fabric the other way. The Side, Band Center, Band End and a copy of the Band End because you need four total of that one will ALL fit, I promise.

This picture shows the center piece on a fold. Do you see that the fabric is folded so that the raw edges are to the middle? You need to cut this out twice-on the fold! This is a little tight on a fat quarter but I made it work out just fine.


This picture to the left is showing the second cutting of the Center piece.

This picture is showing how the band center is attached to the band end, a band end goes on each side of the band center. Sew the band center ends to the band center twice, on each band center main piece. You will then have a ridiculous looking arc looking piece. Go ahead and press your seams to set then go wild and press the seam allowance to one side.


Do this:
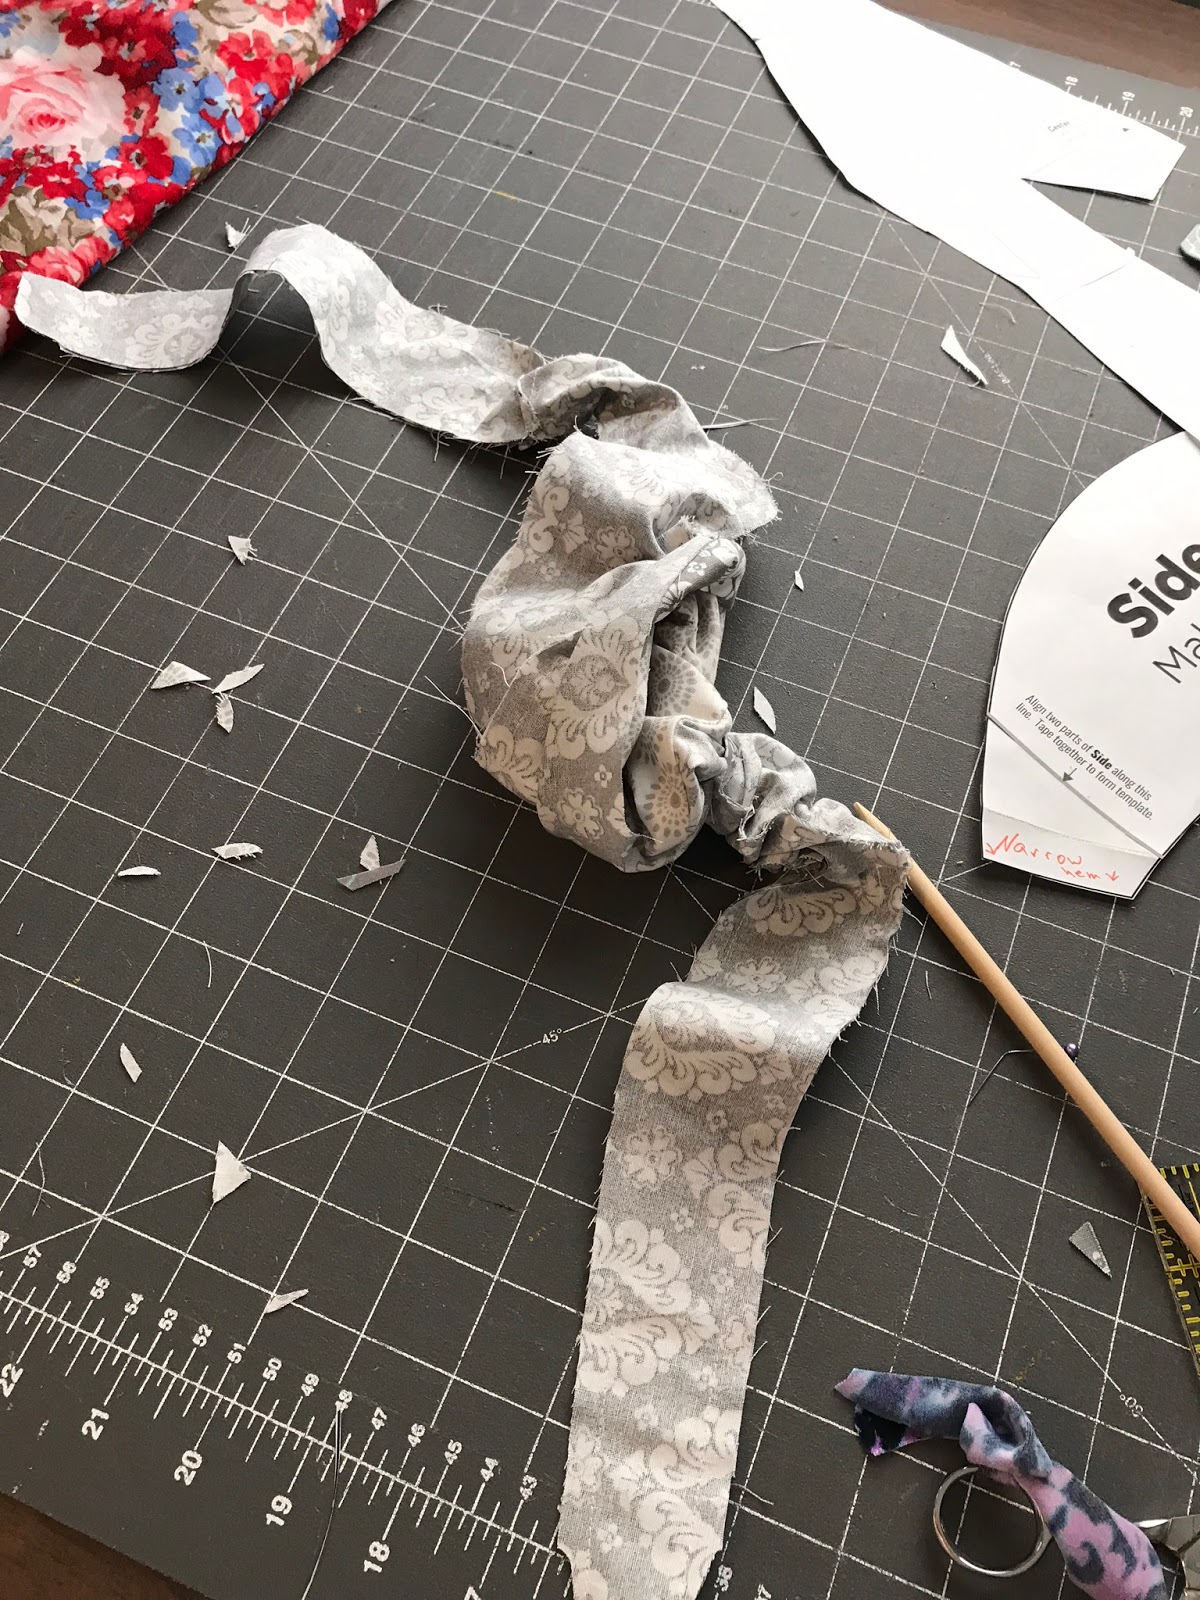
1. Make narrow hem by folding up 5/8 seam allowance then open it and fold raw edge in then press flat, top stitch this down the side piece where shown.
2. Stitch the band ends to center band as explained above.
3. Stitch the TWO darts on EACH center piece, then clip your dart close to stitching.

This picture demonstrates how the side is attached to the whole thing and notice the narrow hem marking. Notice also the ORANGE dot near the top on the side piece. This is to point out the top of the piece, it is easy to get turned around!


These are the center pieces with the darts sewn in.

Notice here that the raw little edge of the center piece is not flush with the narrow hem, this is on purpose. It should be off set by about 1/4 inch for the seam allowance.


And this on the wrong side once basted.


Sew all around then clip. Now, this little corner was a beast and would not lay open nicely when I turned it out. I must be doing something wrong, so if you have a tip, I'd love to add it HERE. Thanks! Ok, so you see this other outside corner to the right is the one where we off set the narrow hem of the side, we want to make sure this is tucked in and not caught in the stitching as you go around. Trust me, it is going to be sweet!

This picture shows it all together with the opening at the bottom of the picture. Trim your corners and clip here and there and turn out give it a good press.
I see you spying my pretty flower fabric. I'm so excited to say I am wearing the top I made out of it right now!

It looks like this all pinned up. You will then sew this allaround the band pieces with some parts only the band being stitched together.


This picture shows you the nice little side end with the narrow hem and the end of the center piece. Looks good right!??

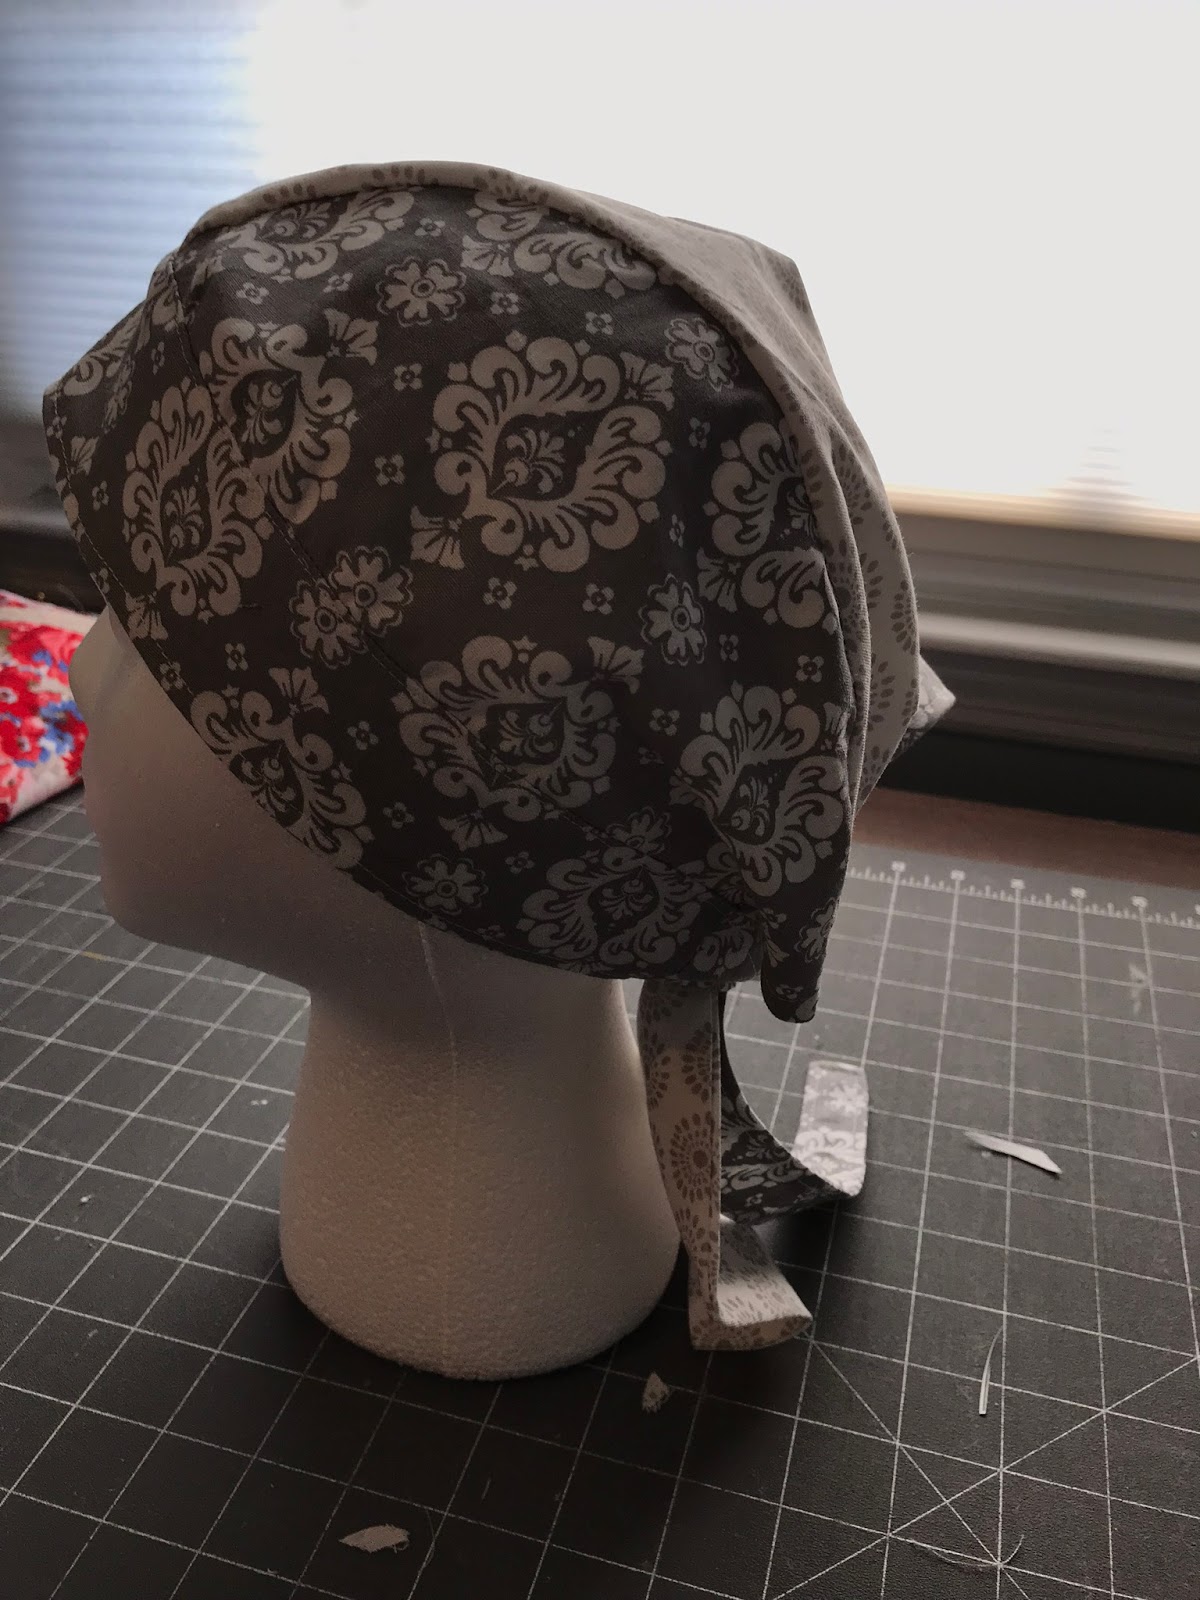
Finished!
Bonus! I get to use my styrofoam head that I bought for no reason.